
Connecting this channel lets you send campaigns, receive conversations in the inbox and use AI agents for automated customer service.
Available on: all plans.
Who can do it: all users.
What you need before you start
Before you start the connection, make sure you have:
-
A verified Meta Business account
-
A phone number dedicated to WhatsApp (it can't be linked to another WhatsApp)
Required Meta data
Have the following information at hand:
-
Phone Number ID
-
Business ID
-
WhatsApp Business Account ID (WABA ID)
-
Business Token
Step 1 – Open the channel settings
On the platform, go to: Main Screen > Sidebar > Your Name > Settings > Integrations.
Step 2 – Select the channel type
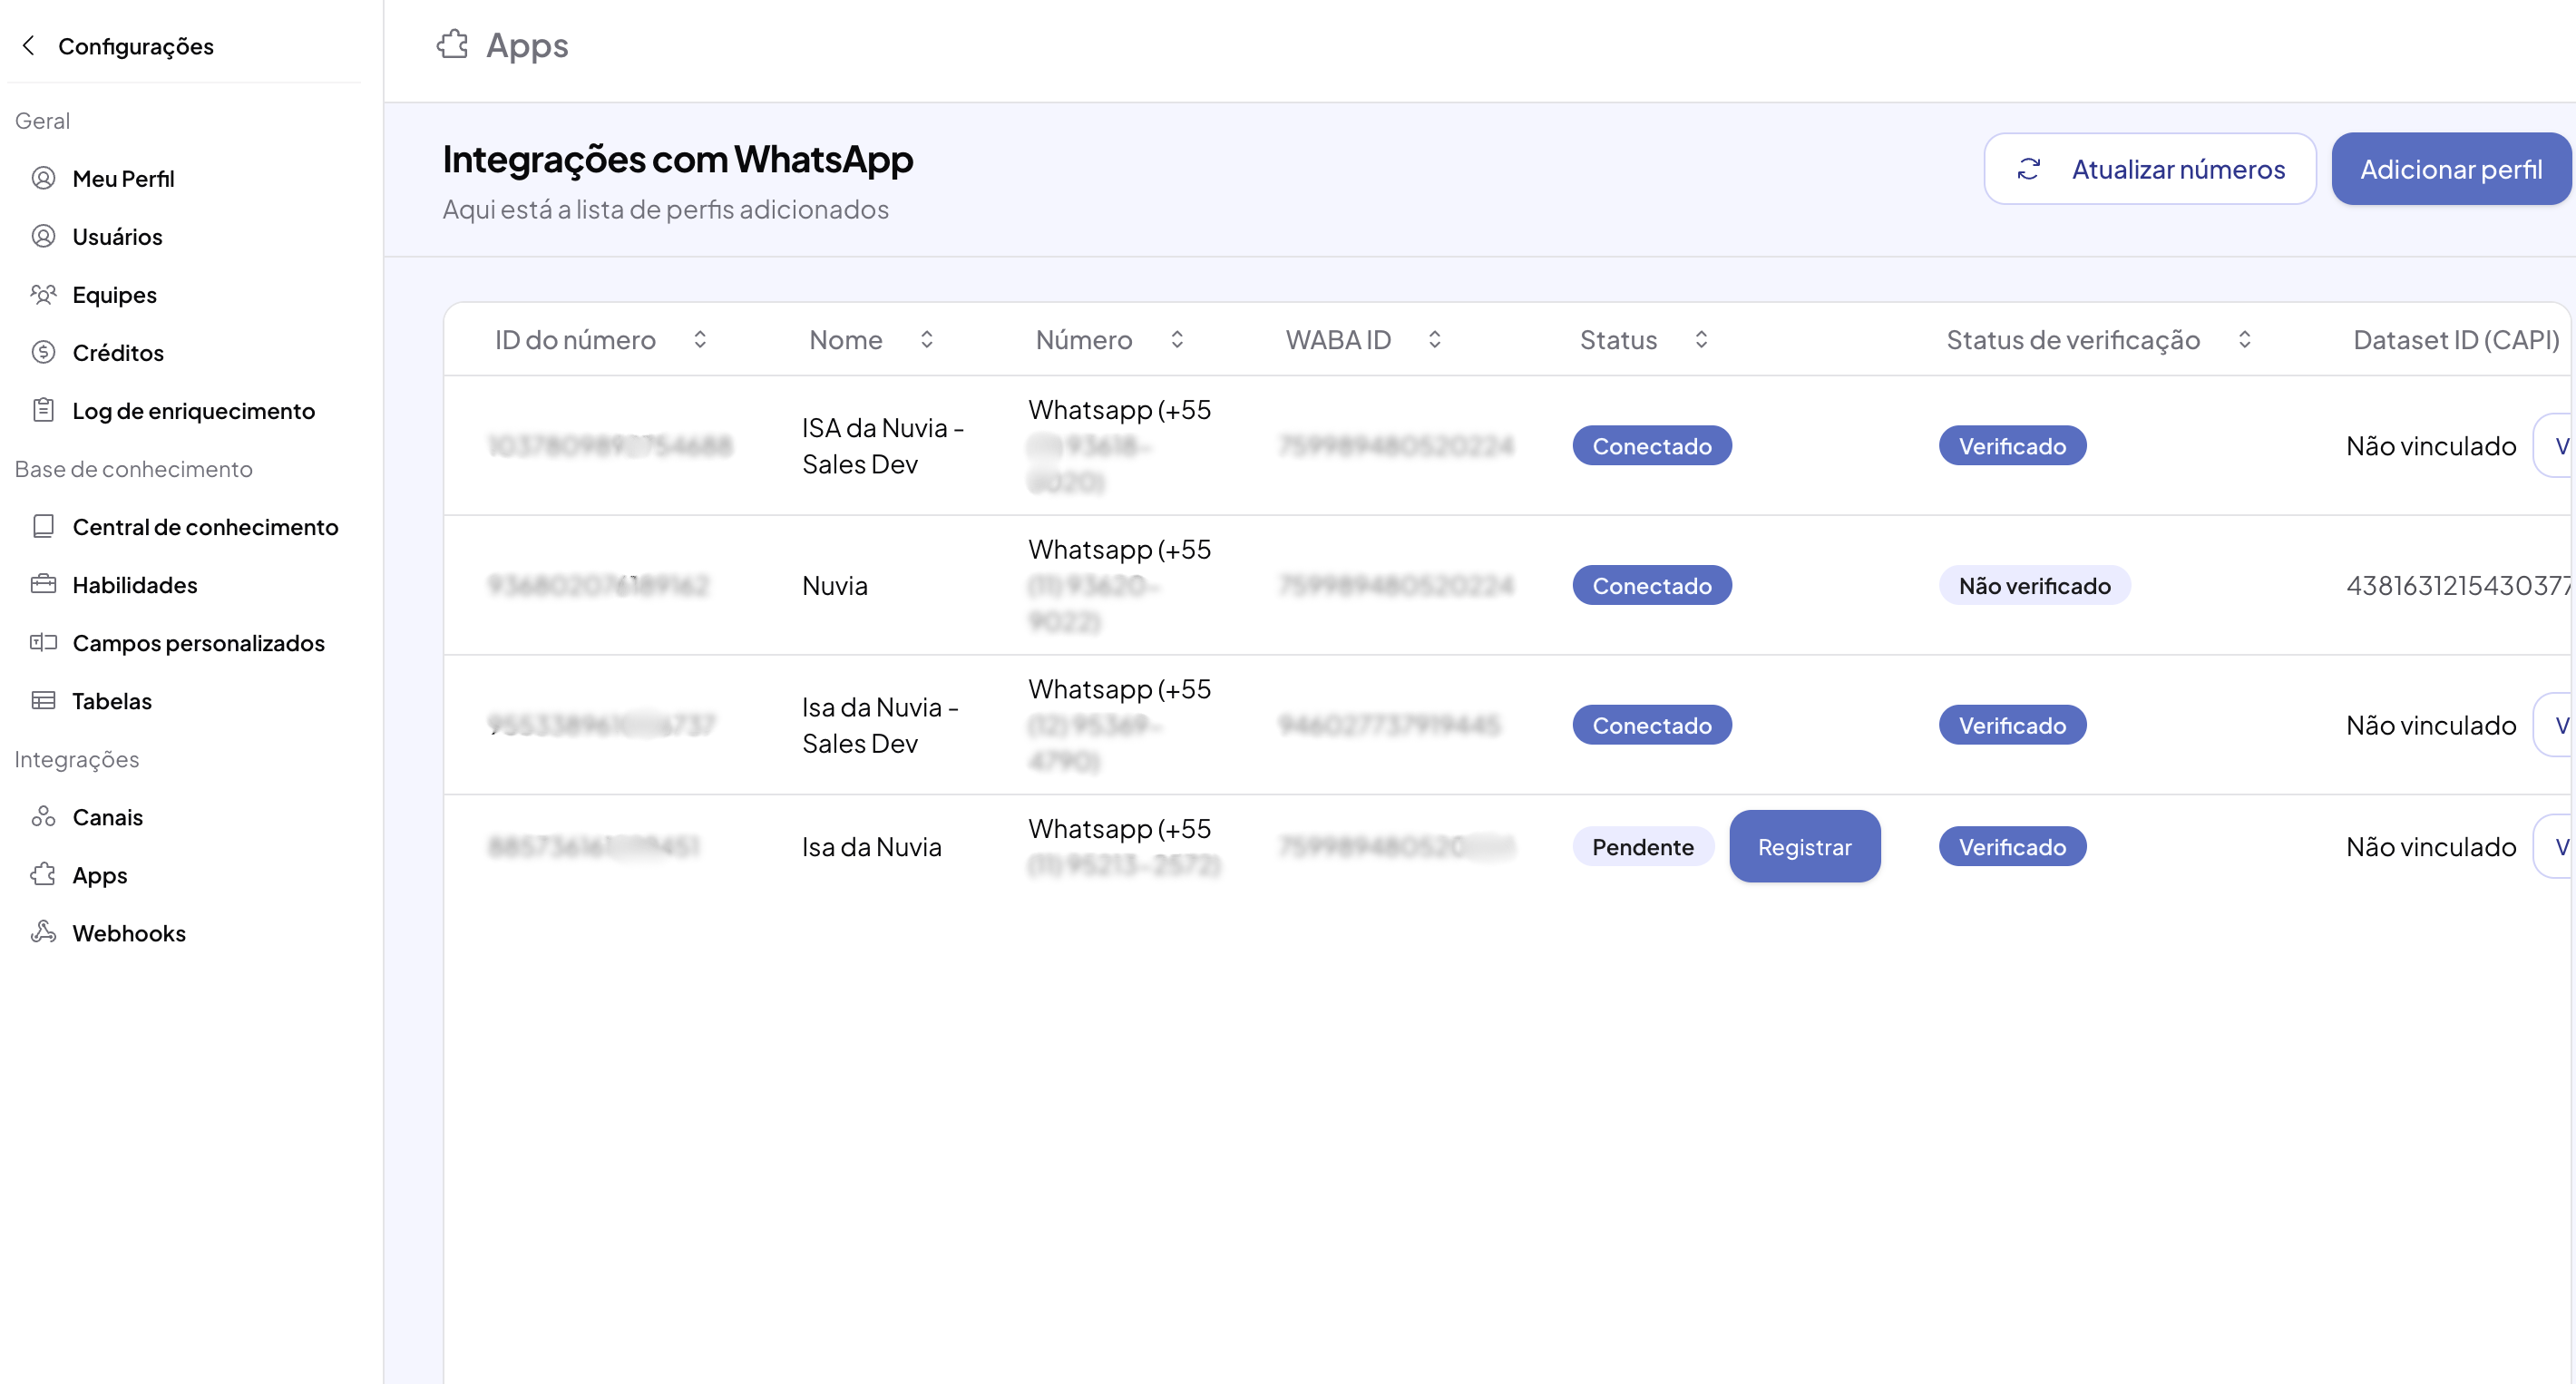
In the Integrations section, select the WhatsApp option and click Add Profile.
Read Nuvia's terms of use and check the acceptance box. This step is required to continue with the integration.
Step 3 – Start the connection with Meta
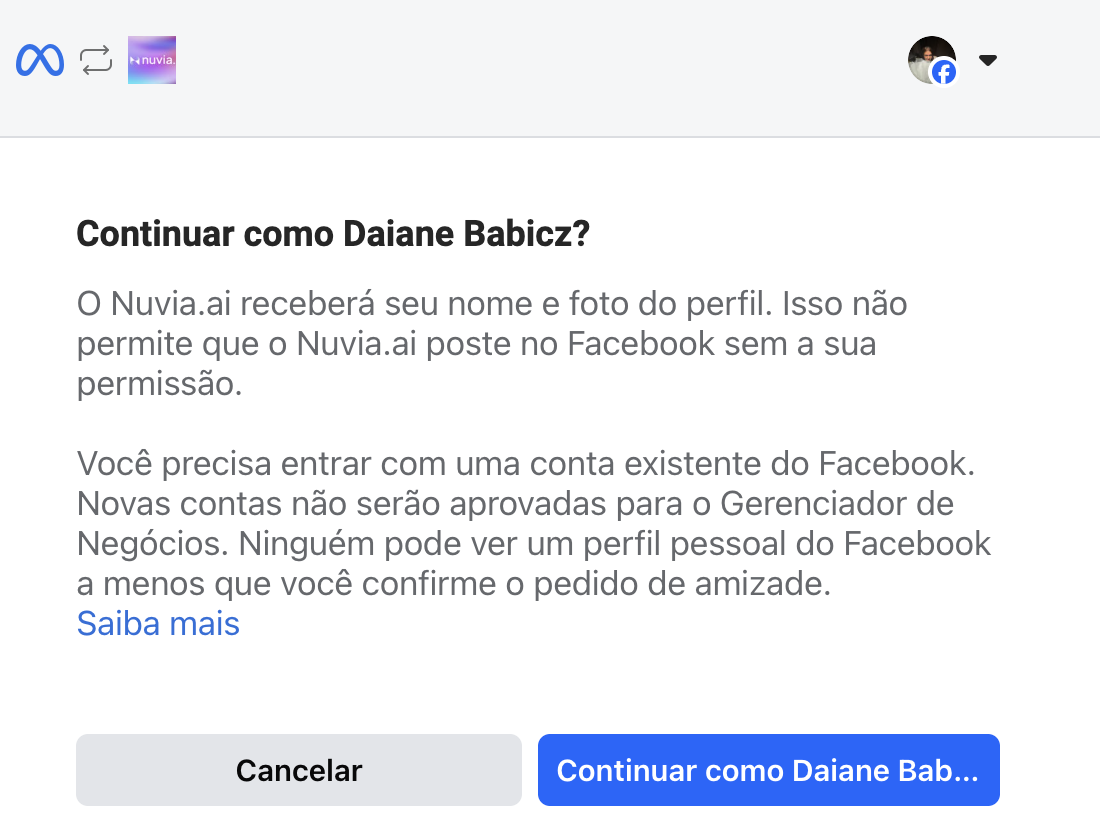
After accepting the terms, click Connect with Facebook. A window opens. Log in to your Meta account and complete the required authentication.
Step 4 – Finish the connection
Once authentication is done, the platform connects automatically and the number is linked to the system.
Migrating a number that's already active on another platform (BSP)
If the number you want to connect has already been used on another WhatsApp platform, the connection may fail even if you follow the steps above. This happens because the number is still linked to an old WABA (WhatsApp Business Account), tied to a previous BSP (Business Solution Provider).
What to check before trying to connect
Confirm with whoever manages the old Business Manager (BM):
-
Two-factor authentication (2FA) must be turned off for this number. This is the most common reason the connection fails.
-
The source WABA must have an approved status, with no pending issues.
If any of these points isn't right, the connection attempt will fail.
Migration step by step
-
Ask the old provider to release the number (it can take a few days).
-
Turn off 2FA on the previous account (BM) for that number.
-
Reconnect the number following the initial steps, but on a WABA different from the original — a new one or one that has never been linked to a BSP.
-
In Integrations > WhatsApp, click Update numbers so Nuvia reconciles the channel with the new data.
Important: if the number is reconnected on the same old WABA (the one linked to the previous BSP), the problem may happen again. And don't delete the channel in Nuvia during the process — once the channel is deleted, automatic reconciliation (Update numbers) stops working.
For the full prerequisites, common errors and what to do when the connection fails, see How to migrate a WhatsApp number from another platform to Nuvia.